In today’s digital age, the PDF (Portable Document Format) has become a widely used file format for its versatility and compatibility across various devices. Converting Google Docs to PDF format offers users the convenience of sharing documents in a fixed layout that remains consistent on any platform.
Whether you want to share important business reports, academic assignments, or creative projects, saving Google Docs as PDFs on your iPhone ensures that your documents are easily accessible and presentable to recipients.
In this comprehensive blog, we aim to guide iPhone users through the process of effortlessly saving Google Docs as PDFs. With step-by-step instructions and valuable insights, you’ll learn how to utilize the built-in PDF export option in Google Docs to transform your documents into polished PDF files directly on your iPhone.
Whether you’re a student, professional, or someone who values streamlined document sharing, this guide will empower you to make the most of the PDF export feature and enhance your productivity.
Google Docs, a popular cloud-based word processing tool, offers a simple yet powerful built-in PDF export option. By converting your Google Docs to PDF format, you can maintain the document’s original layout, fonts, and images, ensuring that the recipient sees it exactly as you intended. Moreover, PDFs are universally compatible, making them ideal for sharing documents with anyone, regardless of the platform or device they use.
With the ability to export Google Docs as PDFs directly from your iPhone, you can enjoy seamless document sharing on the go.
Converting Google Docs to PDF on iPhone

Converting Google Docs to PDF format on your iPhone is a straightforward process that can be accomplished with just a few taps. Follow these step-by-step instructions to save your Google Docs as polished PDF files:
- Open Google Docs: Launch the Google Docs app on your iPhone and navigate to the document you want to convert to PDF.
- Access the Menu: Tap on the three vertical dots (ellipsis) located at the top-right corner of the document.
- Choose “Share & export”: From the dropdown menu, select “Share & export” to access the export options.
- Export as PDF: In the “Share & export” menu, tap on the “Print” option. Don’t worry; we’re not actually printing the document, but this is the pathway to exporting as PDF.
- Zoom Out: In the print preview screen, use your fingers to pinch outward to zoom out on the document. This will give you a clearer view of the document.
- Share as PDF: Tap the “Share” button, typically represented by an arrow pointing upward, located at the top-right corner of the screen.
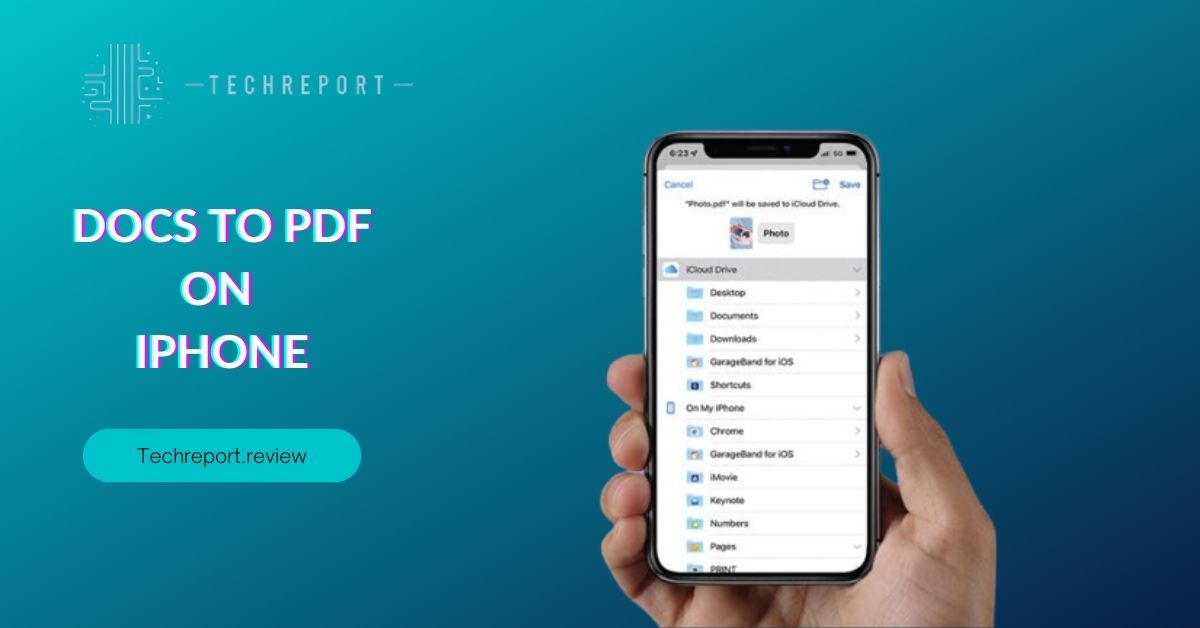
- Save as PDF: From the share options, select “Save PDF to Files” or “Save to Files,” depending on your iOS version. This will prompt you to choose a location in the Files app where you want to save the PDF.
- Confirm and Save: Once you’ve selected the destination, tap “Save” to convert and save the Google Doc as a PDF on your iPhone.
When converting Google Docs to PDF format, it’s essential to be aware of potential formatting changes. In most cases, the basic formatting, such as fonts and colors, will be preserved in the PDF. However, more complex formatting elements, such as advanced table layouts, may experience slight adjustments during the conversion process.
To ensure the best results, it’s advisable to review the PDF after conversion and make any necessary adjustments if specific elements appear different from the original document.
While the PDF export feature on iPhone offers a convenient way to save Google Docs, there are some limitations to be aware of. One of the primary limitations is related to the document’s complexity and size. Extremely large or intricate Google Docs may take longer to convert to PDF, and in some cases, the conversion process may not be completed successfully. If you encounter such issues, consider simplifying the document or breaking it into smaller sections before attempting to convert it to PDF.
Additionally, keep in mind that certain Google Docs add-ons or custom fonts may not be fully compatible with the PDF export, potentially leading to formatting discrepancies. In such cases, it’s recommended to review the PDF output and make any necessary adjustments to ensure the document’s integrity.
Including Images in PDF Exports
Incorporating images into your PDF exports from Google Docs can add visual appeal and enhance the overall presentation of your documents. Here’s how you can ensure your images are included when converting your Google Docs to PDF on your iPhone:
- Insert Images: Within your Google Doc, make sure to insert all the images you want to include in the PDF. To do this, tap on the location in the document where you want the image to appear, then tap on the “+” icon at the top-right corner and select “Image.” Choose the image you wish to insert from your iPhone’s photo library or any other location.
- Verify Image Placement: After inserting the images, review their placement and ensure they are correctly positioned within the document. Adjust the image size and alignment, if necessary, to achieve the desired layout.
- Save Google Doc as PDF: Now that your Google Doc is ready with all the images in place, follow the steps outlined in Section II to export the document as a PDF.
To maintain optimal image quality in the PDF version, it’s essential to consider the resolution and compression settings for the images. Here are some tips to ensure the images look sharp and clear in the PDF:
- High-Resolution Images: Whenever possible, use high-resolution images in your Google Doc. Higher resolution images have more pixels, resulting in better image clarity when exported to PDF.
- Avoid Over-Compression: If you’re concerned about image file size, be cautious when exporting the document as PDF not to use excessive compression settings. High compression can lead to a reduction in image quality, especially in images with intricate details or fine text.
- PDF Export Settings: As you export the Google Doc as a PDF, make sure to check the export settings. Some PDF export options may include image compression settings that can impact image quality. Choose the appropriate settings that balance file size and image quality.
- Preview PDF Output: Before finalizing the PDF, take a moment to review the document to ensure the images appear as intended. If you notice any image degradation, consider adjusting the export settings or replacing images with higher-resolution versions.
By following these guidelines, you can confidently include images in your PDF exports from Google Docs and maintain the visual appeal of your documents on your iPhone. Properly optimized images will contribute to a professional and visually engaging PDF document that can be easily shared with others.
Customizing PDF Settings
When saving Google Docs as PDFs on your iPhone, you have the flexibility to customize the layout of the PDF pages to suit your preferences. Here’s how you can adjust page orientation and margins:
Page Orientation: By default, Google Docs exports PDFs in portrait mode, but you can change this setting to landscape if your document layout requires it. To do this, follow these steps:
- Tap on the “More” (three dots) button in the top-right corner of the Google Docs app while viewing the document.
- From the dropdown menu, select “Print layout.”
- Now, tap on the “More” button again, and this time, choose “Page setup.”
- In the “Page setup” options, select “Landscape” under the “Orientation” section. Tap “OK” to apply the changes.
Margins: Adjusting the margins can be useful for ensuring that your content fits well on the PDF pages. Here’s how you can change the margins:
- While still in the “Page setup” options, you’ll see settings for “Top,” “Bottom,” “Left,” and “Right” margins.
- Tap on each margin value and enter a new value to increase or decrease the margins as needed.
- Once you’ve adjusted the margins, tap “OK” to save your changes.
When exporting Google Docs as PDFs on your iPhone, you have the freedom to select a meaningful file name and save the PDF in a location that suits your organizational preferences. Here’s how you can do it:
Naming the PDF: After following the steps in Section II to export the Google Doc as a PDF, the Save dialog box will appear. Here, you can enter a custom file name for the PDF. Choose a descriptive and relevant name that represents the content of the document.
Selecting the Location: By default, the PDF will be saved in the “Files” app on your iPhone. However, you can choose to save it in a specific folder or cloud storage service like iCloud Drive, Google Drive, or Dropbox for easier access and organization.
- To change the save location, tap on the “On My iPhone” or “On My [Cloud Service]” option at the top of the Save dialog box.
- Navigate to the desired folder or cloud storage service where you want to save the PDF.
- Tap “Add” or “Save” to complete the export and save the PDF with the chosen file name and location.
By customizing these PDF settings, you can create well-organized and tailored PDF files on your iPhone, ensuring that they meet your specific requirements and preferences. Whether it’s adjusting page orientation and margins or selecting the perfect file name and location, these customization options give you more control over your PDF exports from Google Docs on your iPhone.
In Crux
In this guide, we’ve delved into the process of efficiently saving Google Docs as PDFs on your iPhone, unlocking a world of possibilities for productivity and seamless collaboration. By harnessing the built-in PDF export feature in the Google Docs app, you can transform your documents into versatile, portable, and shareable files that retain their formatting and content integrity.
With PDFs at your disposal, you can embrace seamless collaboration and document sharing. Whether you need to send reports to colleagues, share study materials with classmates, or submit assignments to professors, PDFs offer a universal format that preserves your work’s layout and appearance across various devices and platforms.
Gone are the days of compatibility issues and distorted formatting; PDFs ensure a smooth and consistent reading experience for recipients.
The ability to save Google Docs as PDFs on your iPhone elevates your mobile workflow to new heights. Whether you’re a student, professional, or creative, this newfound power gives you the freedom to work on your documents on the go and share them effortlessly with others.
The flexibility to customize PDF settings, including page orientation, margins, file names, and save locations, empowers you to create PDFs tailored to your unique needs.
From creating visually appealing PDFs with images to adjusting page layouts for a professional touch, the possibilities are endless. Say goodbye to being bound to a computer when working with documents, and embrace the convenience of your iPhone for document creation, sharing, and collaboration.
In conclusion, mastering the art of saving Google Docs as PDFs on your iPhone opens up a world of opportunities for productivity, creativity, and collaboration. Whether you’re a student, a professional, or someone who frequently deals with documents, PDFs are the key to a seamless and efficient workflow.
So, harness the power of PDF export on your iPhone and take your productivity to new heights. With PDFs in your arsenal, you can confidently navigate the digital landscape and make your mark with professionally presented documents that leave a lasting impression.
How much did you like our detailed Docs to PDF on iPhone. Please share these Blogs with your friends on social media.
Related Blogs
- Is iPhone 14 Worth the Hype
- iPhone 15 Pro
- Apple CarPlay
- Apple Watch
- iPhone 6 vs Nexus 6
- Apple Vision Pro


