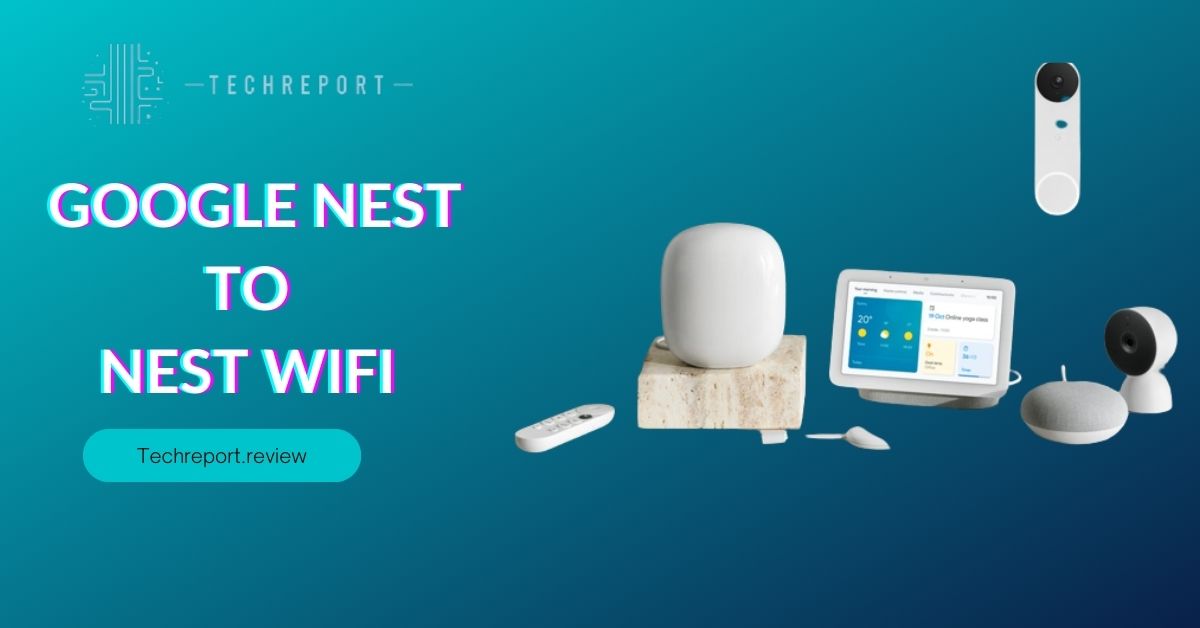
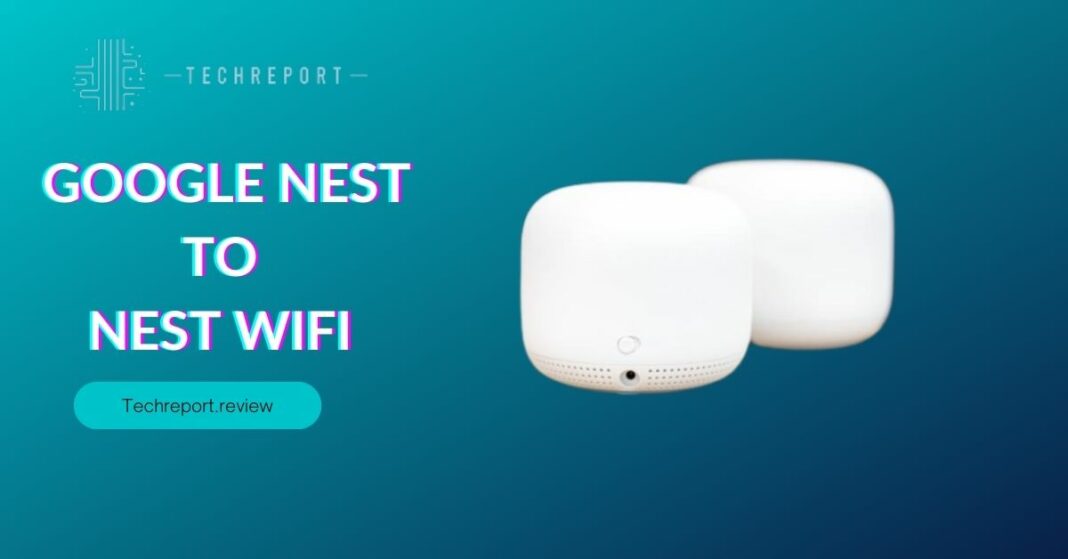
In today’s interconnected world, smart home devices like Google Nest have become an integral part of our lives. These innovative devices offer a seamless and convenient way to control various aspects of our homes. However, to unlock the full potential of Google Nest, a stable Wi-Fi connection is essential. Wi-Fi connectivity allows your Google Nest devices to communicate with each other and with your smartphone or other connected devices, enabling you to control them from anywhere.
The objective of this blog is to guide you through the process of connecting your Google Nest devices to your Wi-Fi network. Whether you’re setting up a Google Nest Hub, Google Nest Thermostat, or any other Google Nest product, we’ve got you covered. We’ll walk you through the steps, provide helpful tips, and troubleshoot common issues, ensuring a smooth and hassle-free Wi-Fi setup for your Google Nest devices.
A stable Wi-Fi connection is crucial for the optimal functioning of your Google Nest devices. When connected to Wi-Fi, your Google Nest devices gain access to the internet, allowing them to download updates, sync data, and provide you with real-time information. This connectivity also enables you to control your Google Nest devices remotely through the Google Home app, making it convenient to adjust settings and monitor your home even when you’re away.
By connecting your Google Nest devices to Wi-Fi, you can unlock a world of possibilities. From setting the perfect temperature with your Nest Thermostat to managing your smart lights with Google Nest Hub, Wi-Fi connectivity opens up a whole new level of smart home automation and convenience. So, let’s get started and connect your Google Nest to Wi-Fi for a truly connected home experience.
Preparing for Setup: Getting Your Google Nest Ready

Before diving into the setup process, it’s essential to unbox your Google Nest device and ensure that you have all the necessary components. Carefully open the packaging and check for the main device, power adapter, cables, and any additional accessories that may come with your specific Google Nest product. Be sure to keep all components organized and within reach to avoid any unnecessary delays during setup.
Once you’ve verified the components, it’s time to power up your Google Nest device. Depending on the model, your Google Nest might require a power adapter or a built-in battery. If it requires a power adapter, plug it into a nearby power outlet. If your device has a built-in battery, make sure it’s charged before proceeding. Power on the device using the designated power button or by following the device’s specific power-on instructions.
To set up your Google Nest with Wi-Fi, you’ll need the Google Home app, which serves as your central hub for managing all your Google Nest devices. The Google Home app is available for both Android and iOS devices and can be downloaded from the respective app stores. Once you’ve installed the app, open it, and sign in with your Google account. If you don’t have a Google account, you’ll need to create one to proceed with the setup.
The Google Home app will guide you through the setup process, providing step-by-step instructions to connect your Google Nest device to your Wi-Fi network. It will automatically detect your Google Nest device and prompt you to choose the appropriate Wi-Fi network for connection. Ensure that your smartphone or tablet is connected to the same Wi-Fi network you want your Google Nest device to connect to for a smooth setup process.
The Google Home app is designed to make the setup process as simple as possible, and it will provide helpful tips and troubleshooting guidance if needed. Follow the app’s instructions, and soon your Google Nest device will be connected to Wi-Fi, ready to enhance your smart home experience.
Connecting Google Nest to Wi-Fi
Once your Google Nest device is powered on and ready for setup, it’s time to connect it to your Wi-Fi network. Launch the Google Home app on your smartphone or tablet, and it will automatically detect your Google Nest device. Follow the on-screen instructions to initiate the setup process. During this step, the app will scan for available Wi-Fi networks in your vicinity.
After the Google Home app has identified the available Wi-Fi networks, it will present you with a list of options. Look for your home Wi-Fi network in the list and select it to proceed with the connection. Make sure you choose the correct Wi-Fi network to ensure seamless communication between your Google Nest device and your smart home network.
Once you’ve selected your Wi-Fi network, the app will prompt you to enter the Wi-Fi password. Type in the password carefully, ensuring there are no typos, as an accurate password is essential for a successful connection. If you’re uncertain about your Wi-Fi password, you can find it on your Wi-Fi router or check with your internet service provider.
Once you’ve entered the correct Wi-Fi password, the Google Home app will initiate the connection process. Your Google Nest device will attempt to establish a secure connection with your Wi-Fi network, allowing it to communicate with other connected devices and access the internet.
During the connection process, the Google Home app will provide real-time updates on the progress. Once the connection is established, you’ll receive a confirmation message indicating that your Google Nest device is now successfully connected to your Wi-Fi network. Congratulations! Your Google Nest is now ready to be a part of your smart home ecosystem, and you can start enjoying its myriad of features and functions.
Navigating Advanced Settings for Google Nest Wi-Fi
Google Nest devices are designed to be compatible with both 2.4GHz and 5GHz Wi-Fi networks. 5GHz networks offer higher data transfer rates and are less prone to interference, making them ideal for bandwidth-intensive tasks like streaming high-definition videos and online gaming. To check if your Google Nest device is compatible with a 5GHz Wi-Fi network, refer to the product specifications or consult the user manual. If your router broadcasts both 2.4GHz and 5GHz networks with the same name (SSID), the Google Home app will automatically connect your Google Nest device to the appropriate network based on its capabilities.
To ensure optimal connectivity and performance, it’s essential to check the Wi-Fi signal strength where you plan to place your Google Nest device. The Google Home app provides a signal strength indicator during setup, helping you find the best location for your device. Aim for a signal strength of at least 70% or more for seamless communication. If the signal strength is weak, consider moving your Google Nest device closer to your Wi-Fi router or use a Wi-Fi extender to improve coverage. Avoid placing your Google Nest device in areas with obstructions like thick walls or large metal objects, as they can weaken the Wi-Fi signal.
Securing your Wi-Fi connection is crucial to protect your data and maintaining the privacy of your smart home devices. When setting up your Google Nest device, ensure that your Wi-Fi network is password-protected with a strong and unique password. Avoid using default or easily guessable passwords to prevent unauthorized access. Additionally, enabling WPA2 or WPA3 encryption on your Wi-Fi router adds an extra layer of security to your network. Regularly update your router’s firmware to ensure it has the latest security patches.
Furthermore, consider creating a separate guest network for visitors to your home. This network allows guests to access the internet without gaining access to your main network and connected devices. The Google Home app also provides an option to turn off guest network access during the setup process, further enhancing security.
By following these tips and navigating the advanced settings for your Google Nest Wi-Fi connection, you can enjoy a seamless and secure smart home experience with your Google Nest devices.
Troubleshooting Wi-Fi Connection Issues with Google Nest
Encountering Wi-Fi connection issues with your Google Nest device can be frustrating, but there are several troubleshooting steps you can take to resolve the problem:
- Check Wi-Fi Network: Ensure that your Wi-Fi network is operational and that other devices can connect to it. If other devices are also having trouble connecting, the issue may lie with your Wi-Fi router or internet service provider.
- Restart Google Nest: Try restarting your Google Nest device. Unplug it from the power source, wait for a few seconds, and then plug it back in. This can sometimes resolve temporary connection issues.
- Move Closer to Router: If the Wi-Fi signal is weak, move your Google Nest device closer to the Wi-Fi router to see if the connection improves.
- Check Wi-Fi Password: Double-check that you are entering the correct Wi-Fi password during setup. Typos or incorrect passwords can prevent a successful connection.
- Reboot Wi-Fi Router: Restart your Wi-Fi router to clear any temporary glitches that may be affecting the connection.
- Update Firmware: Ensure that your Google Nest device has the latest firmware update. Outdated firmware can sometimes cause compatibility issues.
- Disable VPN or Proxy: If you are using a VPN or proxy on your network, try disabling it temporarily to see if it affects the connection.
If troubleshooting steps don’t resolve the Wi-Fi connection issue, you can try resetting the Wi-Fi settings on your Google Nest device:
- Open Google Home App: Launch the Google Home app on your smartphone or tablet.
- Access Device Settings: Tap on the Google Nest device you want to reset, then tap on the settings icon (gear icon) located in the top-right corner of the device card.
- Find Device Info: Scroll down and select “Wi-Fi” under the “Device info” section.
- Choose “Forget Network”: Tap on “Forget Network” to remove the current Wi-Fi network settings from your Google Nest device.
- Set up Wi-Fi Again: After resetting the Wi-Fi settings, follow the initial setup process to connect your Google Nest device to Wi-Fi once more.
By performing these troubleshooting steps and resetting the Wi-Fi settings if necessary, you can often resolve Wi-Fi connection issues with your Google Nest device and enjoy a seamless smart home experience. If the problem persists, consider contacting Google Nest support for further assistance.
In Crux
Congratulations! You have successfully learned how to connect your Google Nest to Wi-Fi, taking a significant step towards creating a smarter and more connected home environment. By embracing the power of Wi-Fi connectivity, you can unlock the full potential of your Google Nest devices and enjoy a seamless smart home experience.
Throughout this blog, we explored the step-by-step process of setting up Google Nest with Wi-Fi, from unboxing the device to inputting the Wi-Fi password. We also delved into advanced settings, such as 5GHz Wi-Fi compatibility, Wi-Fi signal strength, and security measures for optimal performance and security.
With your Google Nest devices now seamlessly connected to your Wi-Fi network, you are ready to take your home automation to the next level. From controlling smart lights and thermostats to monitoring security cameras and doorbells, your Google Nest ecosystem offers unparalleled convenience and control.
Remember to troubleshoot any Wi-Fi connection issues you might encounter using the troubleshooting tips provided in this blog. By keeping your Google Nest devices connected and updated, you can ensure a smooth and efficient smart home experience.
As technology continues to evolve, so will your Google Nest and Wi-Fi integration. Stay informed about firmware updates and new features to make the most of your smart home setup. With Google Nest and Wi-Fi working harmoniously, you can enjoy the peace of mind that comes with a connected home, knowing that your devices are just a tap away on your smartphone.
In conclusion, we hope this blog has empowered you to confidently set up and connect your Google Nest to Wi-Fi, creating a more intelligent and efficient living space. Embrace the power of Google Nest and Wi-Fi connectivity, and step into a world where your smart home adapts to your needs and preferences with ease. Welcome to the future of home automation with Google Nest and Wi-Fi!
How much did you like our detailed How to set up your Google Nest to Nest Wifi. Please share these Blogs with your friends on social media.
Related Blogs
- Is iPhone 14 Worth the Hype
- iPhone 15 Pro
- Apple CarPlay
- Apple Watch
- iPhone 6 vs Nexus 6
- Apple Vision Pro
FAQs about Google Nest Wi-Fi Setup
Can I connect Google Nest to a 5GHz Wi-Fi network?
Yes, Google Nest devices are compatible with both 2.4GHz and 5GHz Wi-Fi networks. During setup, the Google Home app will display available networks, and you can choose the appropriate one, including 5GHz if available.
What happens if my Google Nest doesn't connect to Wi-Fi?
If your Google Nest encounters connection issues, ensure your Wi-Fi network is functioning correctly and that you've input the correct password. Restart your Google Nest and try reconnecting. If problems persist, check for firmware updates or contact Google Nest support for assistance.
Can I use a mobile hotspot to connect Google Nest to Wi-Fi?
Yes, you can use a mobile hotspot to connect Google Nest to Wi-Fi. However, keep in mind that mobile hotspots may have limited bandwidth and could impact the performance of your Google Nest devices.
What is the range of Wi-Fi coverage for Google Nest devices?
The Wi-Fi range for Google Nest devices varies depending on your Wi-Fi router's strength and any potential obstacles or interference. In general, Google Nest devices work well within the typical range of most home Wi-Fi networks.
Can I connect multiple Google Nest devices to the same Wi-Fi network?
Absolutely! You can connect multiple Google Nest devices to the same Wi-Fi network using the Google Home app. This allows you to create a seamless smart home ecosystem.
What are the security measures for Wi-Fi connection on Google Nest?
Google Nest devices use encryption to secure the Wi-Fi connection between the device and your network. Additionally, you can set up two-factor authentication and use a strong Wi-Fi password for added security.
How do I reset the Wi-Fi settings on my Google Nest?
To reset the Wi-Fi settings on your Google Nest, access the device's settings through the Google Home app. Look for the option to reset or reconfigure Wi-Fi settings, and follow the on-screen instructions.
How to troubleshoot Wi-Fi connection issues with Google Nest?
If you encounter Wi-Fi connection problems, try restarting your Google Nest, ensuring your Wi-Fi network is working, and double-checking your Wi-Fi password. If problems persist, consult the Google Home app's troubleshooting section or reach out to support.
Can I check the Wi-Fi signal strength on my Google Nest?
Yes, the Google Home app allows you to check the Wi-Fi signal strength for your Google Nest devices. This feature helps you identify any weak signal areas and optimize device placement for better connectivity.


