In today’s digital age, our iPhones have become more than just communication devices; they are also our photo albums, storing cherished memories and capturing special moments. As we capture countless photos and videos, it’s essential to maintain an organized photo library to easily find and enjoy our favorite moments. This is where organizing and managing photo albums on our iPhones comes into play.
Creating albums allows us to categorize and group photos based on themes, events, or specific interests. It provides a structured and personalized approach to organizing our visual memories, making it easier to locate specific photos or browse through a curated collection. Whether it’s a vacation album, a collection of family portraits, or a folder for food photography, albums help us navigate through our vast photo library with ease.
While creating albums is a fantastic way to organize our photos, it’s natural for our photo library to accumulate numerous albums over time. Some albums may have served their purpose, become outdated, or simply no longer align with our current interests. In such cases, it’s important to know how to delete albums on our iPhone to keep our Photos app clean and clutter-free.
Deleting albums not only declutters our photo library but also streamlines our photo management process. By removing unnecessary or unused albums, we can focus on the albums that truly matter and simplify the browsing experience. Deleting albums frees up valuable storage space on our devices, ensuring we have enough room to capture new memories without worrying about running out of storage.
Let’s dive into the step-by-step process of decluttering your Photos app and creating a more streamlined photo management system.
Understanding Albums on iPhone
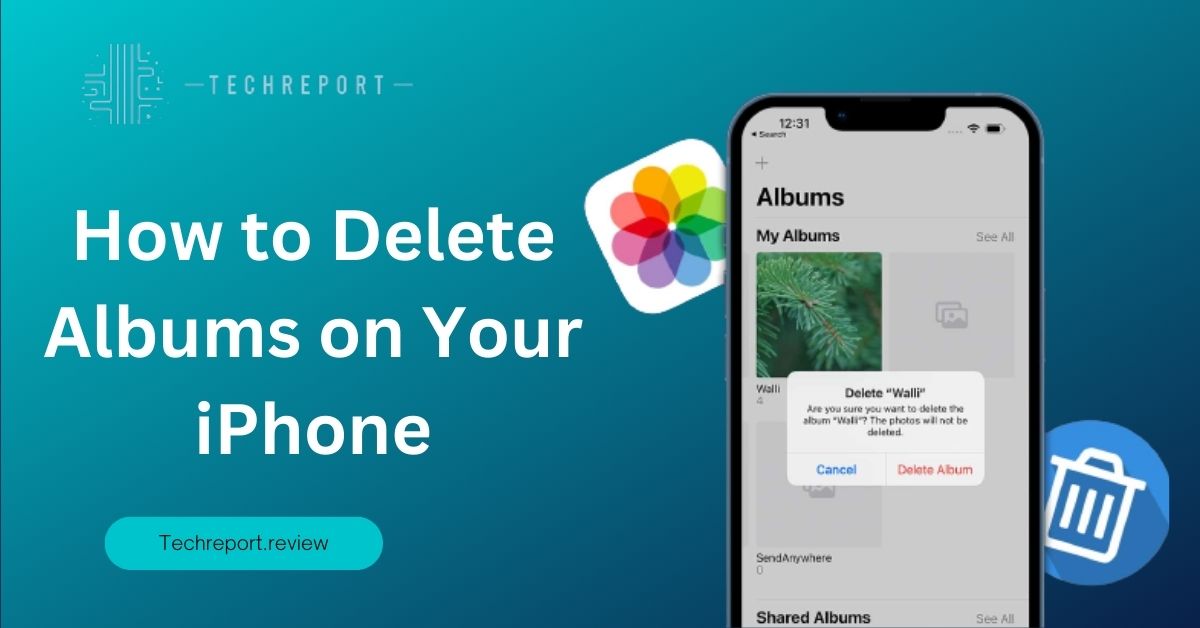
Albums on iPhone are virtual folders or collections that allow you to group and organize your photos based on specific criteria or themes. They serve as a convenient way to categorize and access your photos, making it easier to find and view them whenever you want. Think of albums as digital photo album or a filing system for your pictures.
By creating albums, you can keep your photo library more organized and structured. Instead of scrolling through hundreds or thousands of photos in your Camera Roll, albums provide a focused and curated view of your images. This makes it quicker to locate specific photos and relive cherished memories.
- Default Albums: These albums are created automatically on your iPhone and cannot be deleted. Examples include “Camera Roll,” which contains all the photos and videos you capture, and “Favorites,” where you can add your most beloved images.
- Custom Albums: These are albums that you create yourself to group specific photos based on your preferences. You can create albums for vacations, family events, pets, or any other theme you desire. Custom albums offer flexibility and personalization, allowing you to curate your photo library to your liking.
- Shared Albums: Shared albums enable you to collaborate and share photos with others. You can create an album and invite friends or family members to contribute their photos, creating a shared collection of memories. This is particularly useful for events like weddings, vacations, or group projects.
- Smart Albums: Smart albums are dynamic collections that automatically organize your photos based on certain criteria. For example, the “Selfies” smart album collects all your self-portraits, while the “Panoramas” smart album gathers panoramic shots. Smart albums update themselves as you take new photos that meet the specified criteria.
By understanding the different types of albums on your iPhone and addressing common queries related to album management, you’ll be well-equipped to efficiently organize and navigate your photo library.
How to Delete Albums on iPhone
Method 1: Deleting Custom Albums
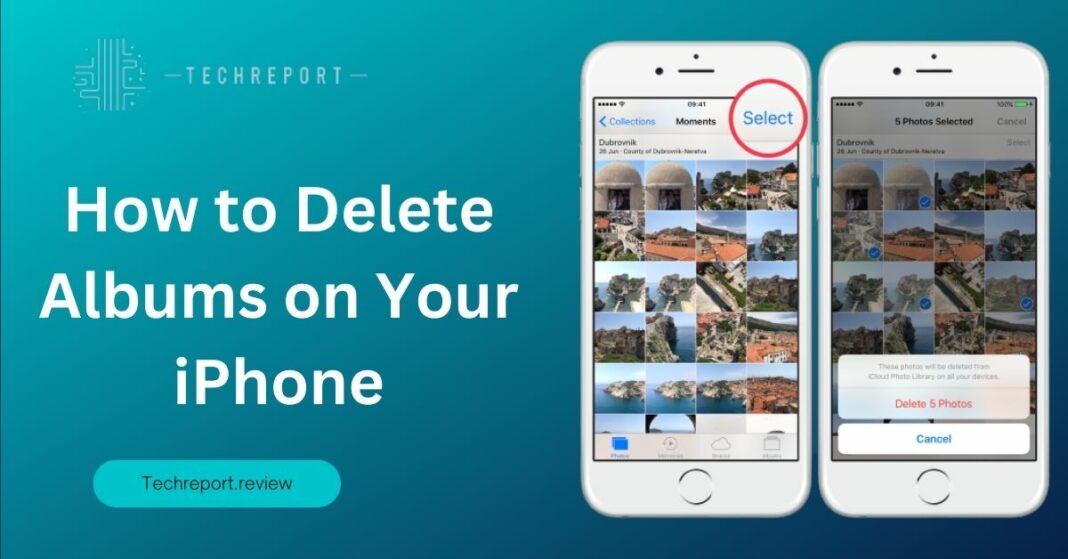
- Open the Photos app and navigate to the “Albums” tab.
- Tap on the “See All” option to view all your albums.
- Locate the custom album you want to delete and tap on it to open it.
- Tap the ellipsis (…) icon in the top-right corner.
- Select the “Delete Album” option from the menu that appears.
- Confirm the deletion when prompted.
When you delete a custom album, it only removes the album itself and does not delete the photos contained within it. The photos will still be available in the “Photos” and “Camera Roll” albums.
Method 2: Removing Default Albums
Default albums on iPhone, such as “Camera Roll” and “Favorites,” cannot be deleted. However, you can hide them to declutter your Albums view.
To hide default albums:
- Open the Photos app and go to the “Albums” tab.
- Scroll down to the “Utilities” section.
- Tap on the album you want to hide.
- Tap the ellipsis (…) icon in the top-right corner.
- Select the “Hide” option from the menu.
- Confirm by tapping “Hide Album.”
Hiding default albums keeps them out of sight, but the photos within them will still be accessible from other album views.
Method 3: Deleting Shared Albums
To delete a shared album on iPhone:
- Open the Photos app and go to the “Albums” tab.
- Tap on the “Shared” album to open it.
- Tap the “Edit” button in the top-right corner.
- Tap the (-) icon on the shared album you want to delete.
- Confirm the deletion by tapping “Delete Album” when prompted.
Deleting a shared album will remove it from your device and also from the devices of all participants. The photos within the shared album will remain in each participant’s respective photo library.
Method 4: Deleting Synced Albums
Synced albums, such as those synced from iTunes or other devices, can’t be directly deleted on the iPhone. To remove them, you’ll need to manage the syncing settings on the respective platform (iTunes or the device where the sync is configured).
Before deleting synced albums, ensure that you disconnect the iPhone from the syncing source (e.g., iTunes or other devices). This prevents the albums from reappearing on your iPhone after deletion.
Method 5: Deleting Multiple Albums at Once
To delete multiple albums at once:
- Open the Photos app and go to the “Albums” tab.
- Tap “Select” in the top-right corner.
- Select the albums you want to delete by tapping on them.
- Tap the trash bin icon in the bottom-right corner.
- Confirm the deletion when prompted.
You can select multiple albums by tapping on them individually or using the swipe gesture to select a range of albums. Deleting multiple albums simultaneously streamlines the cleanup process.
Method 6: Permanently Deleting Albums
When you delete albums, they are initially moved to the “Recently Deleted” folder, where they are stored for 30 days before being permanently deleted. To permanently delete albums:
- Open the Photos app and go to the “Albums” tab.
- Scroll down to find the “Recently Deleted” album.
- Tap on it to open.
- Tap “Select” in the top-right corner.
- Choose the albums you want to permanently delete.
- Tap the “Delete” button to remove them permanently.
Before permanently deleting albums, it is crucial to review the content in the “Recently Deleted” folder to ensure you don’t delete any important photos or albums accidentally. Once deleted from the “Recently Deleted” folder, the albums cannot be recovered.
By following these methods, you can effectively delete albums on your iPhone, declutter your photo library, and organize your albums according to your preferences.
Managing Special Albums
Some third-party apps, such as editing or photo organization apps, create albums within the Photos app on your iPhone. To delete albums created by third-party apps:
- Open the Photos app and go to the “Albums” tab.
- Scroll down and locate the album created by the specific app.
- Tap on the album to open it.
- Look for an option to delete the album within the app or tap the ellipsis (…) icon in the top-right corner.
- Select the “Delete Album” option from the menu that appears.
- Confirm the deletion when prompted.
For popular apps like Adobe Lightroom, VSCO, or Google Photos, the process of deleting albums may vary. Refer to the app’s documentation or support resources for specific instructions on deleting albums created by these apps.
The “My Photo Stream” album is a feature that automatically syncs photos across your Apple devices. To disable and remove the “My Photo Stream” album:
- Go to the Settings app on your iPhone.
- Scroll down and tap on your name at the top of the screen.
- Tap on “iCloud” and then select “Photos.”
- Disable the toggle for “My Photo Stream.”
- Confirm by tapping “Remove from iPhone” when prompted.
Disabling “My Photo Stream” doesn’t delete the photos but prevents them from being automatically added to your iPhone. Instead, you can use iCloud Photos, which provides seamless syncing across all your Apple devices, or manually transfer photos using AirDrop, iCloud Drive, or a USB connection.
Smart albums are automatically generated albums based on specific criteria, such as favorites, recently added, or specific date ranges. These albums dynamically update as you add or modify photos that meet the album’s criteria.
To delete unwanted smart albums from the Photos app:
- Open the Photos app and go to the “Albums” tab.
- Scroll down to the “Smart Albums” section.
- Tap on the smart album you want to delete.
- Tap the ellipsis (…) icon in the top-right corner.
- Select the “Delete Album” option from the menu.
- Confirm the deletion when prompted.
By managing these special albums on your iPhone, you can further streamline your photo organization and remove unnecessary albums that may not align with your preferences or needs.
Recovering Deleted Albums on iPhone
Accidentally deleting an album on your iPhone can be a frustrating experience, but there is a chance to recover them. However, it’s important to note that the recovery process depends on the specific circumstances and the backup options you have in place.
When you delete an album on your iPhone, it typically gets moved to the “Recently Deleted” folder. This folder serves as a safety net and allows you to restore deleted items within a specific timeframe. Here’s how you can recover deleted albums from the “Recently Deleted” folder:
- Open the Photos app on your iPhone.
- Tap on the “Albums” tab at the bottom of the screen.
- Scroll down and locate the “Recently Deleted” album.
- Tap on the album to open it.
- Inside the “Recently Deleted” album, you’ll find all the photos and albums that were recently deleted.
- Tap on the “Select” button in the top-right corner to choose the albums you want to recover. You can also tap on “Recover All” to restore all deleted albums.
- After selecting the desired albums, tap on the “Recover” button.
- The selected albums will be restored to their original location in the Albums tab.
It’s important to note that deleted albums remain in the “Recently Deleted” folder for a limited time, typically 30 days. After this period, the albums and their contents are permanently deleted from your device. Therefore, it’s crucial to act promptly if you want to recover accidentally deleted albums.
Additionally, the recovery process from the “Recently Deleted” folder is limited to albums that were created on your iPhone and not synced from other devices or sources. If you have an iCloud or iTunes backup available, you may be able to restore deleted albums by restoring your device from the backup.
To avoid permanent loss of albums, it’s recommended to regularly back up your iPhone using iCloud or iTunes. This ensures that you have a copy of your data in case of accidental deletion or device issues.
In Crux
As we conclude our discussion on how to delete albums on iPhone, it’s important to emphasize the benefits of decluttering your Photos app. By deleting unnecessary albums, you can free up storage space, improve organization, and enhance your overall photo management experience. Removing albums that no longer serve a purpose allows you to focus on the albums that truly matter and make it easier to find and enjoy your favorite memories.
Regularly reviewing and organizing your albums is key to maintaining a streamlined and efficient photo management experience on your iPhone. Take the time to assess which albums are still relevant and delete those that are no longer needed. Consider creating new albums to better categorize and organize your photos. By actively managing your albums, you can ensure that your Photos app remains tidy, making it easier to locate specific photos and albums whenever you need them.
Remember, organizing your albums is a continuous process. As you capture new memories and accumulate more photos, it’s essential to periodically assess and adjust your album collection. By staying proactive and mindful of your album organization, you can enjoy a clutter-free Photos app and effortlessly navigate through your cherished moments.
We hope this guide has provided you with valuable insights and step-by-step instructions on how to delete albums on your iPhone. By implementing the techniques discussed, you can regain control over your photo library, optimize storage, and create a personalized and organized album collection that reflects your unique memories and experiences.
Take charge of your photo management journey, and enjoy a seamlessly organized Photos app on your iPhone. Happy deleting and organizing!
How much did you like our detailed Clearing the Clutter: How to Delete Albums on Your iPhone Also. Please share these Blogs with your friends on social media.
Related Blogs
- Is iPhone 14 Worth the Hype
- iPhone 15 Pro
- Apple CarPlay
- Apple Watch
- iPhone 6 vs Nexus 6
- Apple Vision Pro
[WPSM_AC id=1359]


